


 Login
Login Home → Learn & Support →

External User Management Guide
This guide provides step-by-step instructions on how to create external users, manage their login credentials, and assign them appropriate roles for workflow approvals across your organization’s entities.
1. Accessing the System and Navigation
To begin managing external users, you must first log into the system and navigate to the correct working environment.
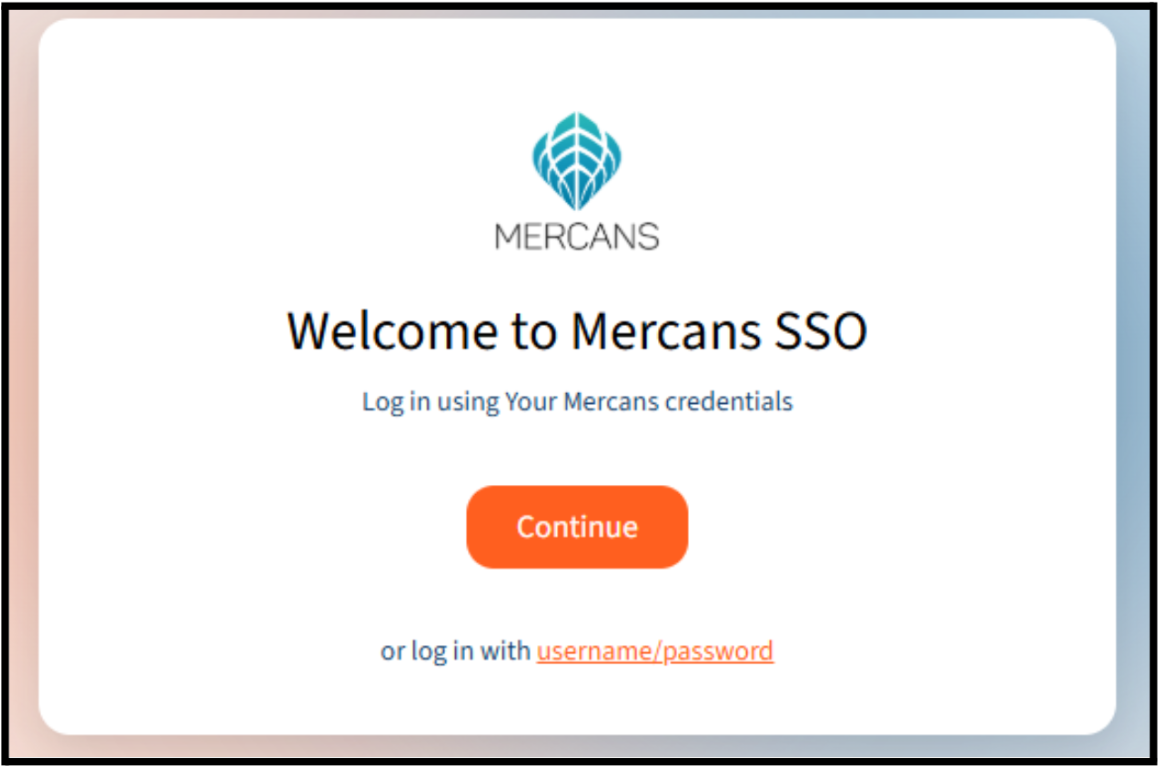
- Log In: Access the HRBlizz platform by navigating to sso.hrblizz.net or access.hrblizz.net/login and entering your credentials.
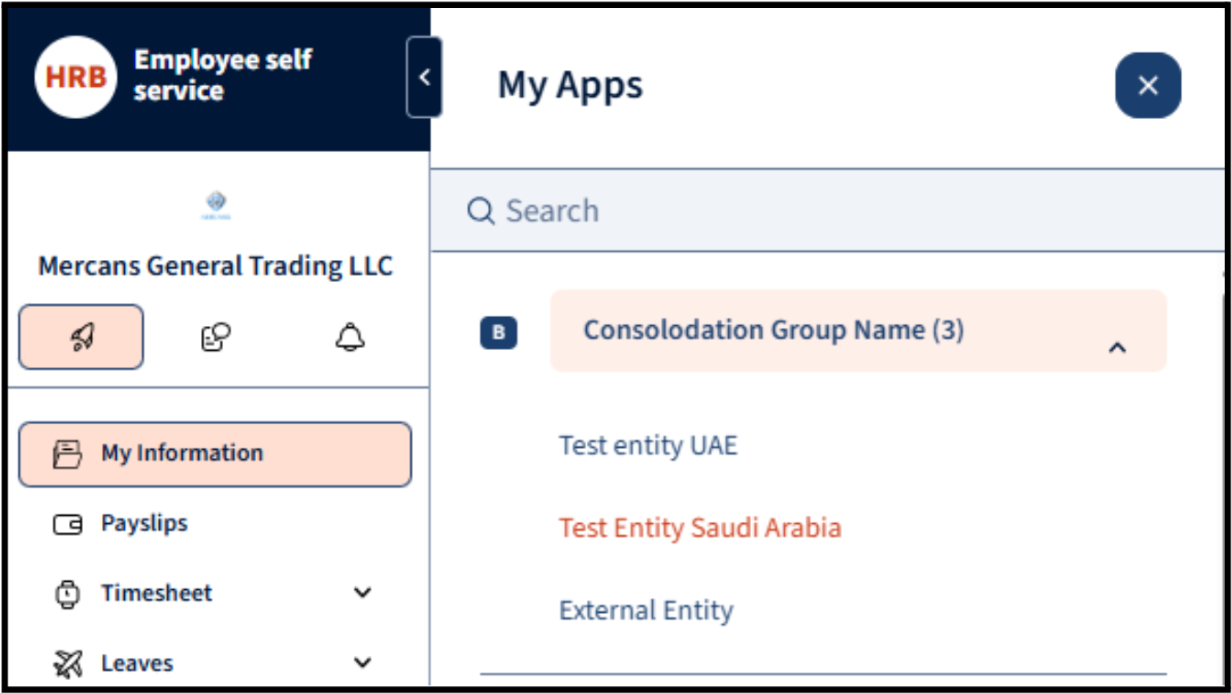
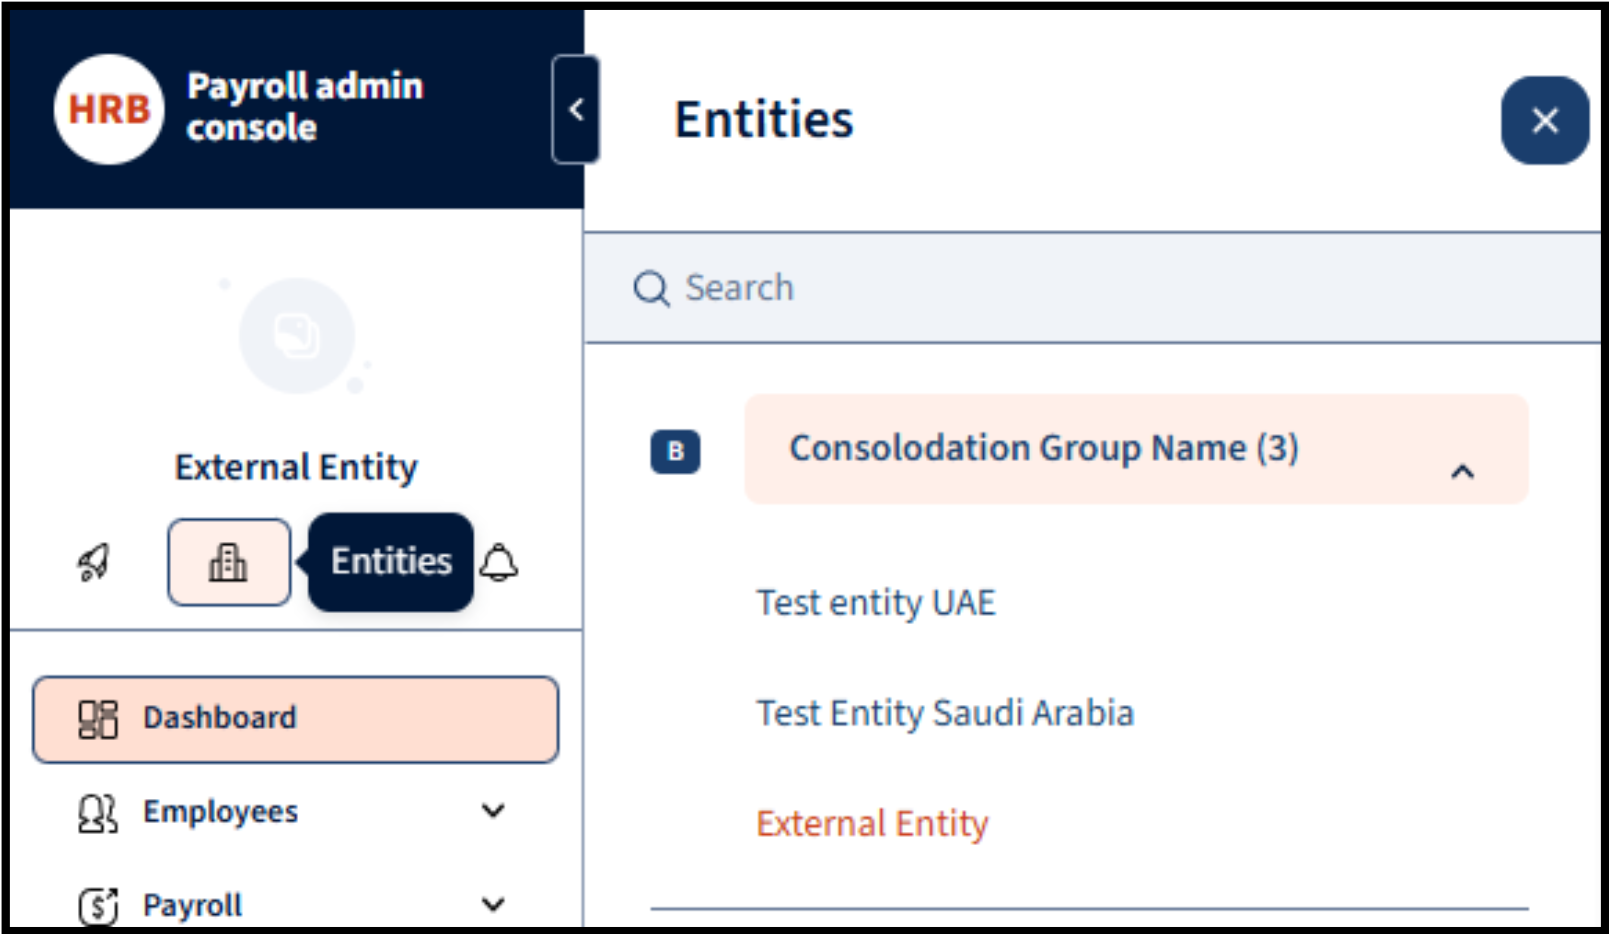
- Navigate to External Entity: Click on the “My Apps” button (represented by the 🚀 rocket icon) in the left-hand navigation menu. From the list of available apps and consolidation groups, select the External Entity.

2. Adding New External Employees
Once inside the External Entity, you need to create profiles for your external users. You can do this either in bulk or one by one.
- Navigate to the Employees section on the left-side dashboard.
- Click the “➕” (Add) button in the bottom right corner of the screen.

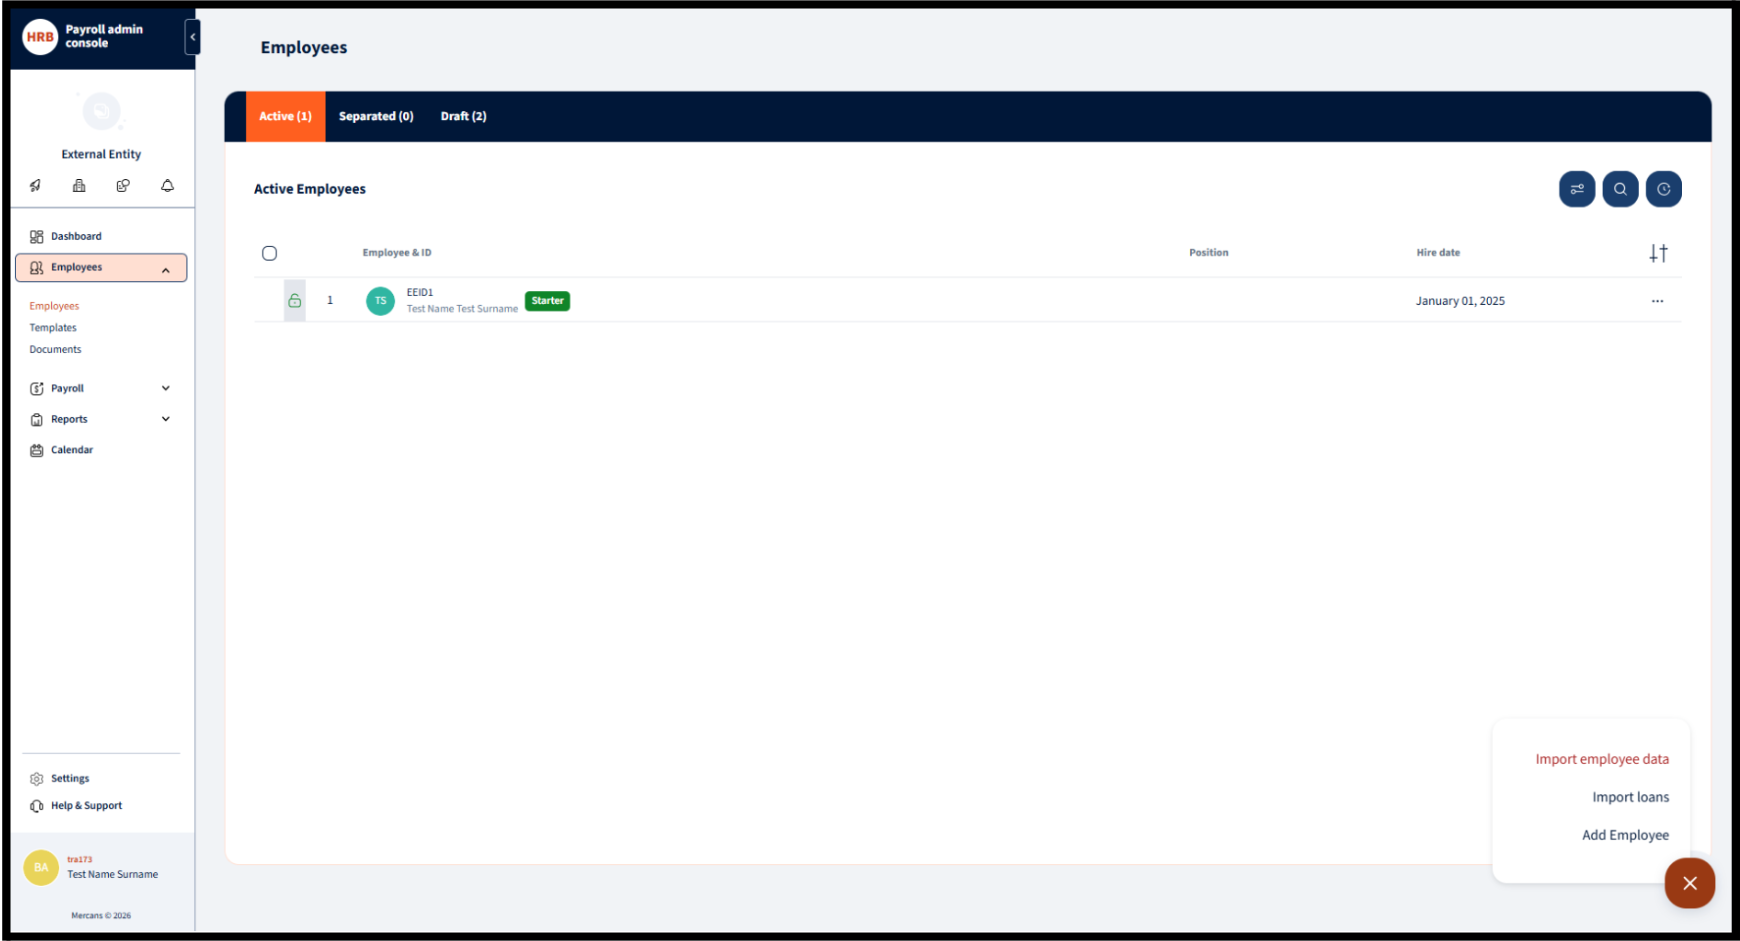
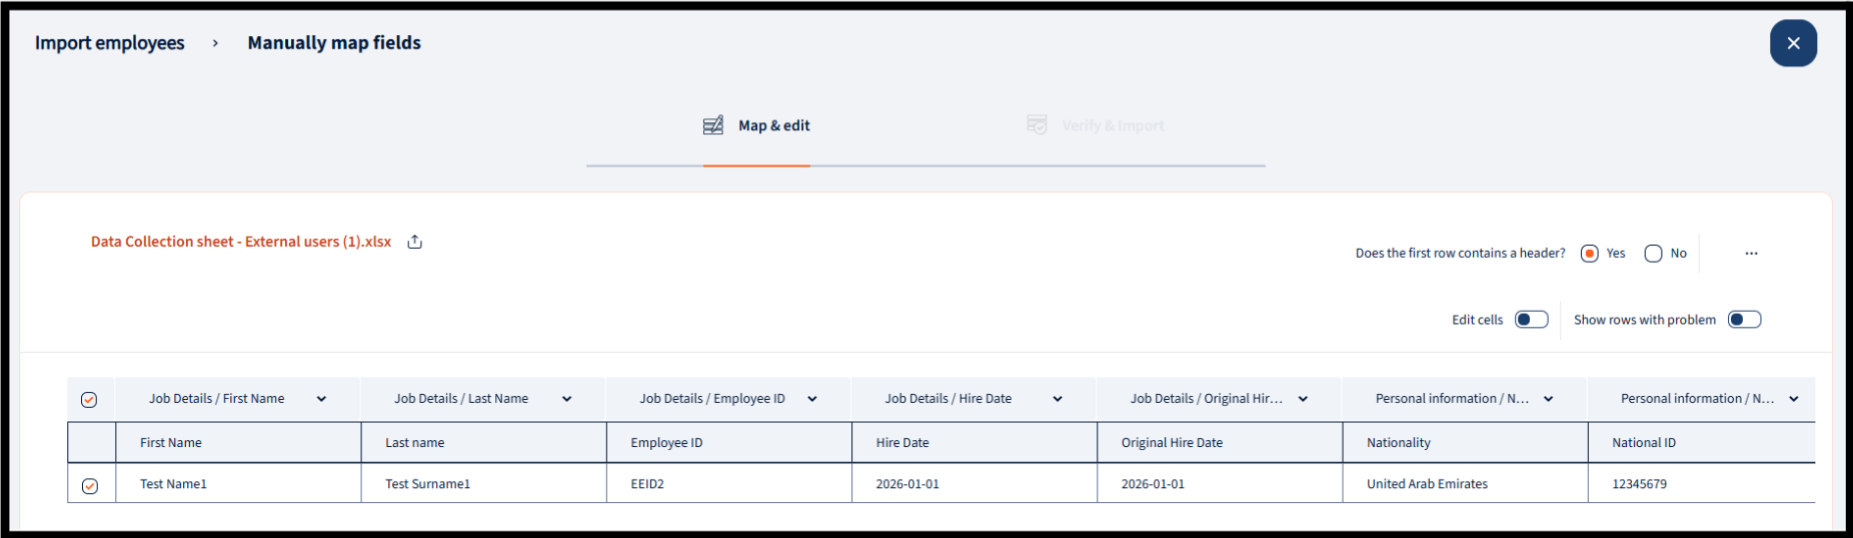
- Option A: Bulk Import. Select “Import employee data”. You will be prompted to upload your completed data collection sheet and map the required fields (such as First Name, Last Name, Employee ID, Hire Date, and Nationality) to the system.

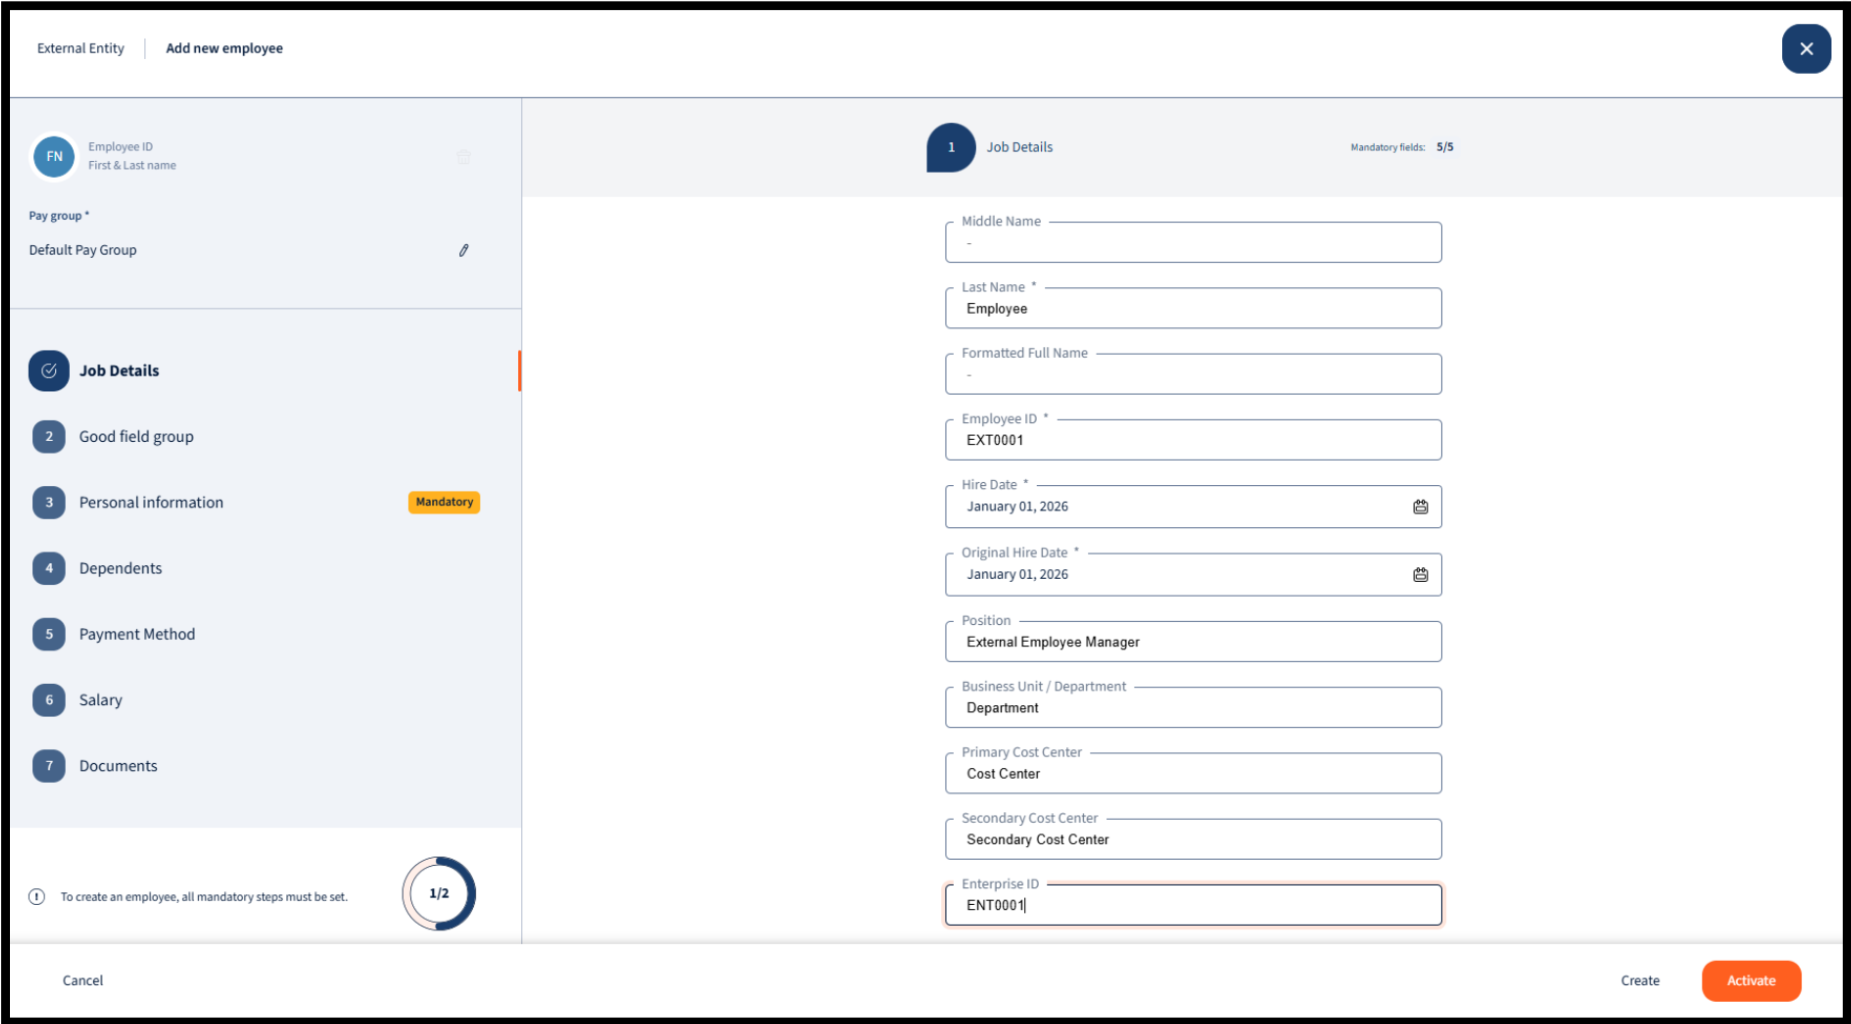
- Option B: Manual Creation. Select “Add Employee”. This will open a step-by-step wizard where you must manually fill out all mandatory fields, including Job Details (Name, Employee ID, Hire Date) and Personal Information.

3. Setting Up Login Credentials
After an external employee’s profile is created, you must grant them system access.
-
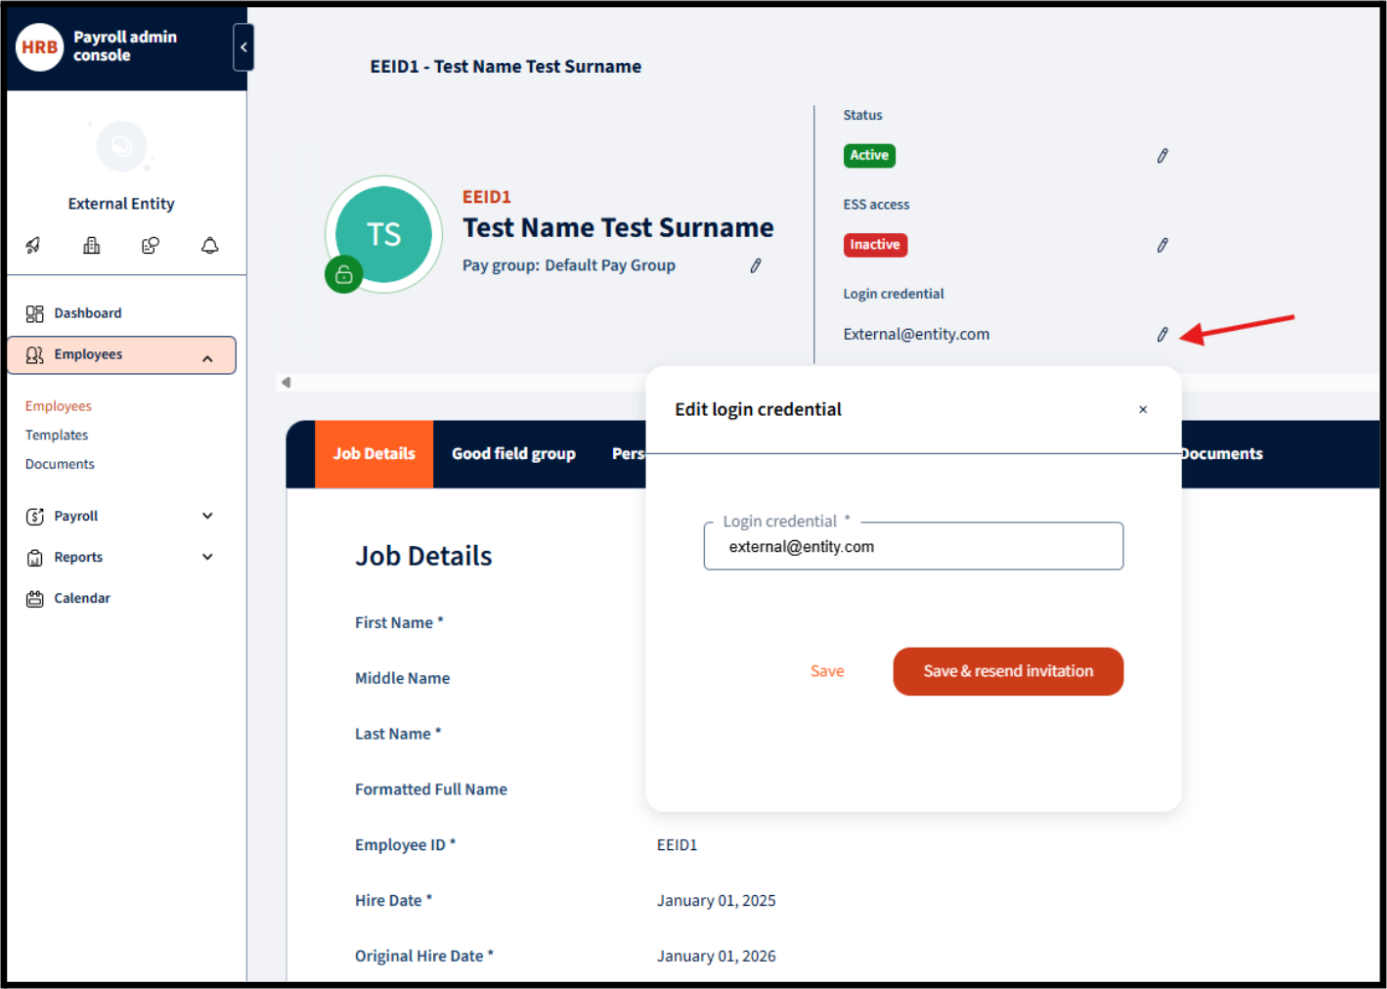
- Navigate to the specific employee’s card within the Employees section.
- Locate the “Login credential” section near the top right of their profile and click the pencil icon to edit.
- Enter the user’s email address into the provided field.
- Click “Save & send invitation”. This will automatically trigger an email to the user, prompting them to establish their login credentials.
- Note on Single Sign-On (SSO): If your organization utilizes SSO, you only need to save the user’s email address; sending an invitation is not required.

4. Entity Access and Role Assignment
Important Context: Users do not need additional roles or access within the External Entity itself if their only purpose is to approve workflows in other entities. Roles within the External Entity are generally reserved for administrators who manage the external employees.
To give external users the ability to approve workflows (such as Leave, Timesheets, or Benefits), you must assign them roles within the specific target entity:
- Click on the “Entities” button (represented by the 🏦 building icon) and select the specific entity where the external user needs approval rights.

- Navigate to Settings in the bottom left menu, then select Access & Role management > Role management.
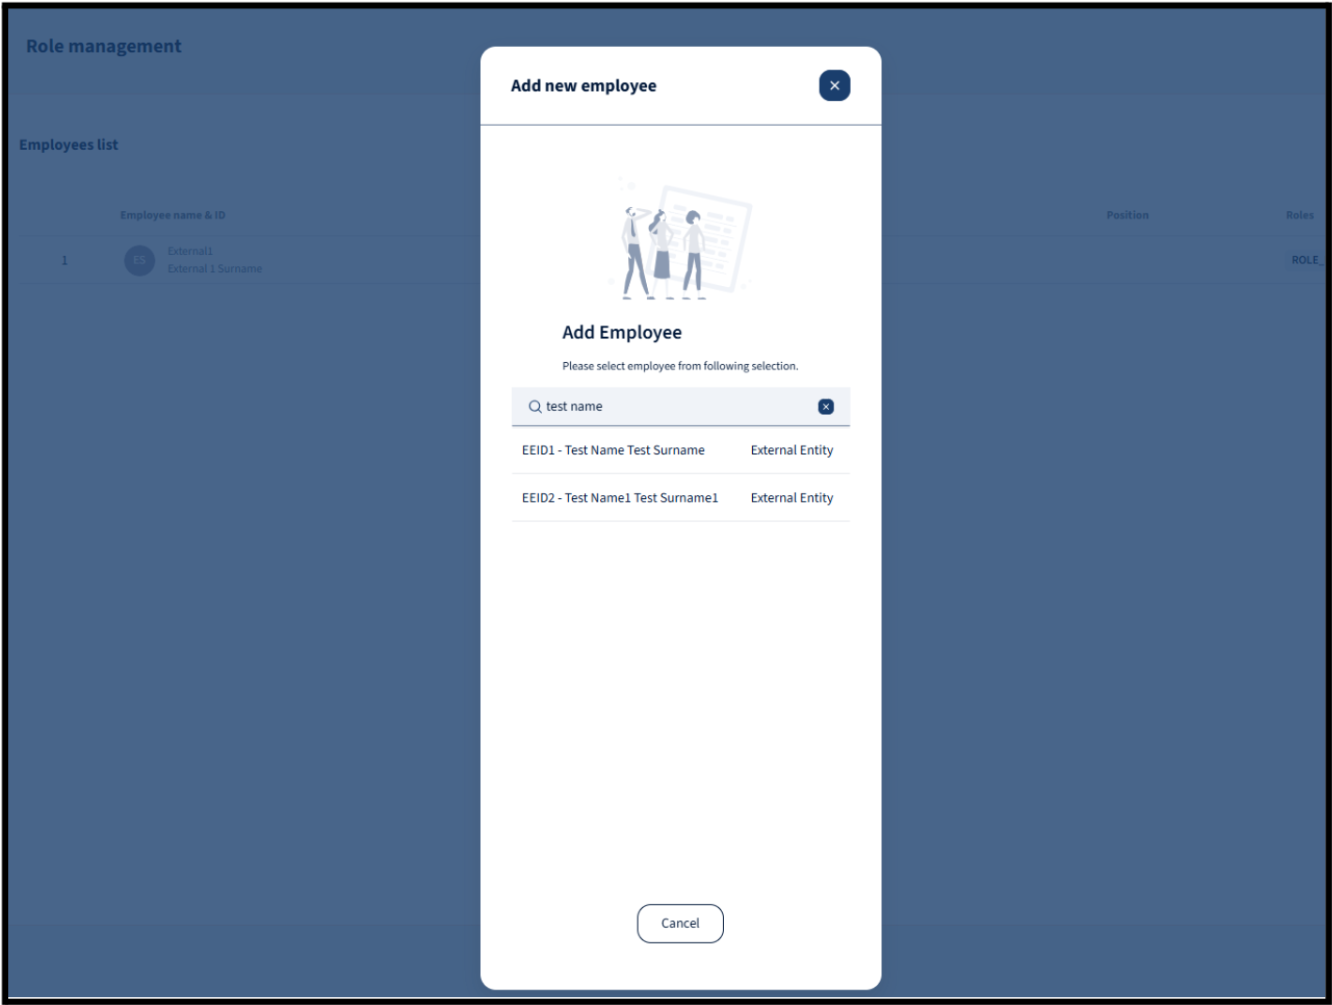
- Click the “➕” (Add) button to assign a new role.

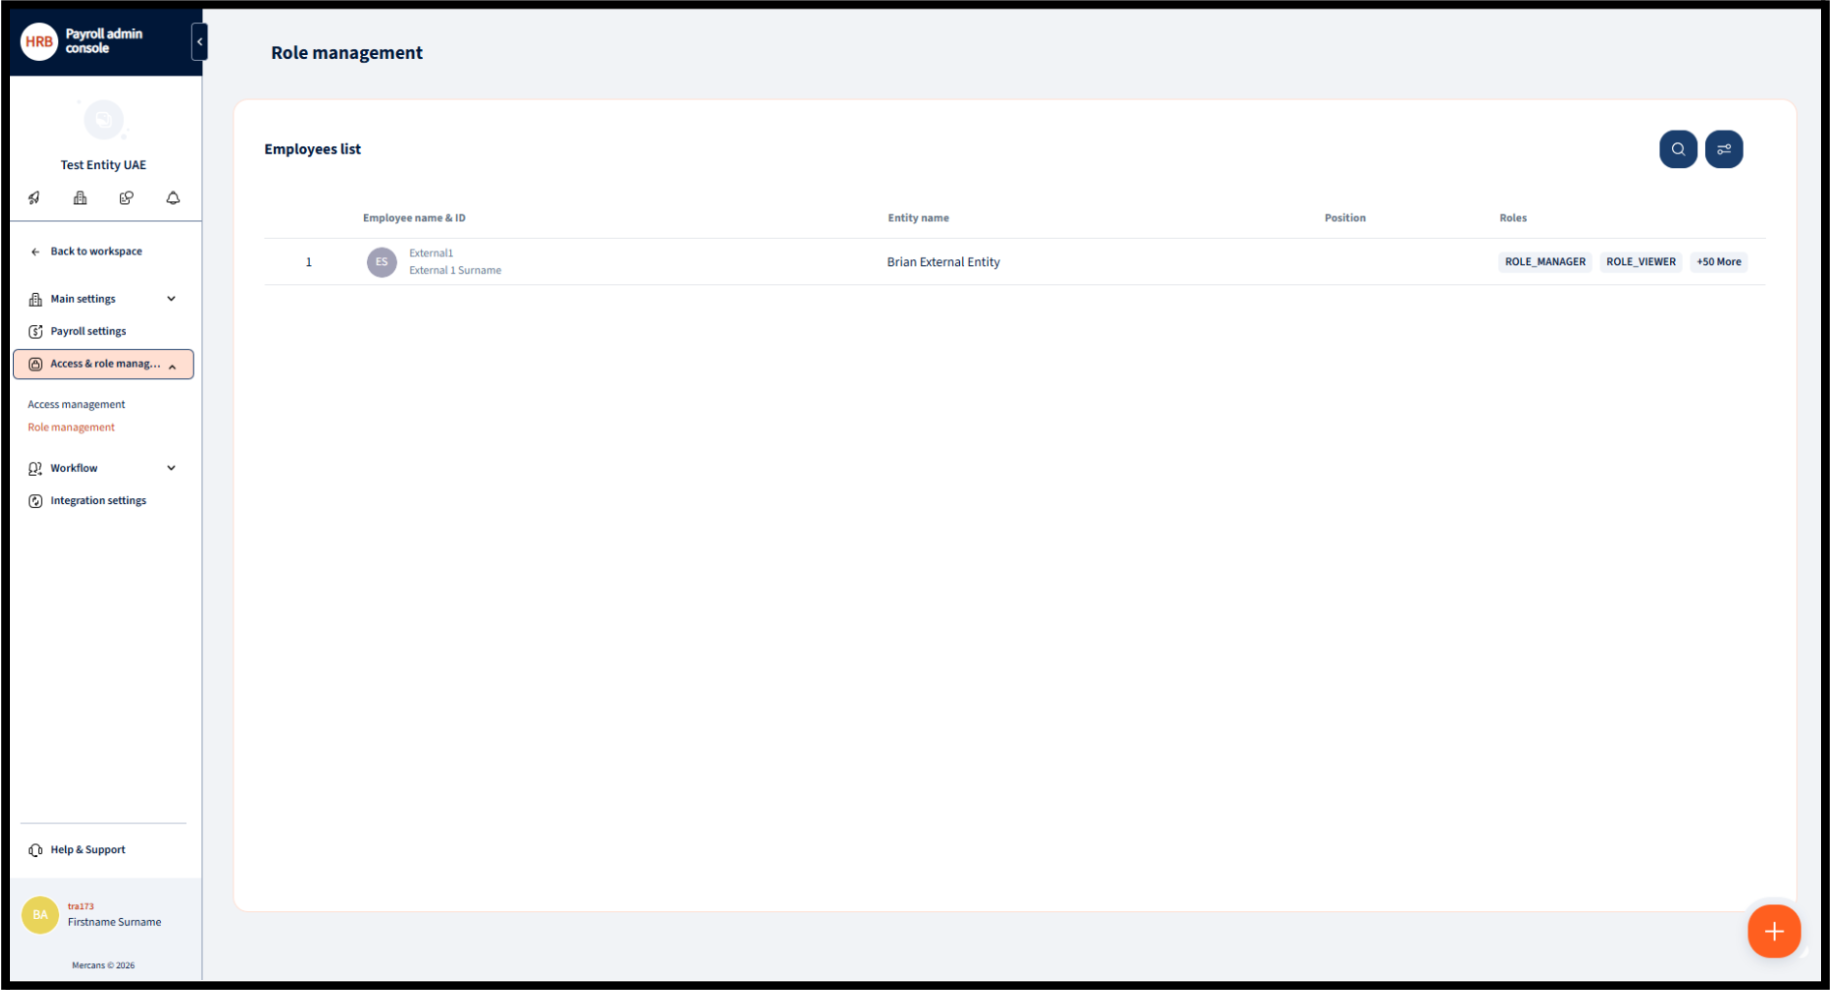
- Search for and select the specific external employee you created earlier.

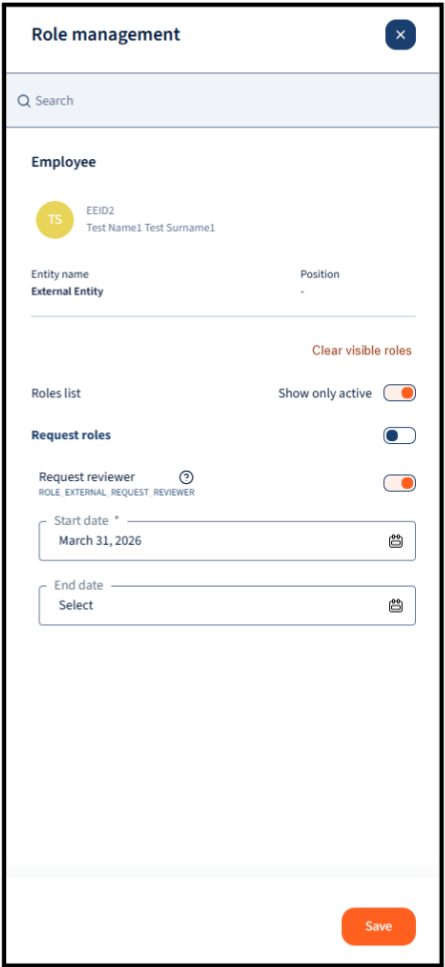
- Toggle on the relevant roles for the user. Common roles for external users include:
- Request roles:
ROLE_EXTERNAL_REQUEST_REVIEWER - Set the start date for the role and click Save.
- Setting the end date is generally used to disable the specific role
- Request roles:
5. Reviewing and Approving Workflows
Once setup is complete, the external user can log in to review and manage pending requests.
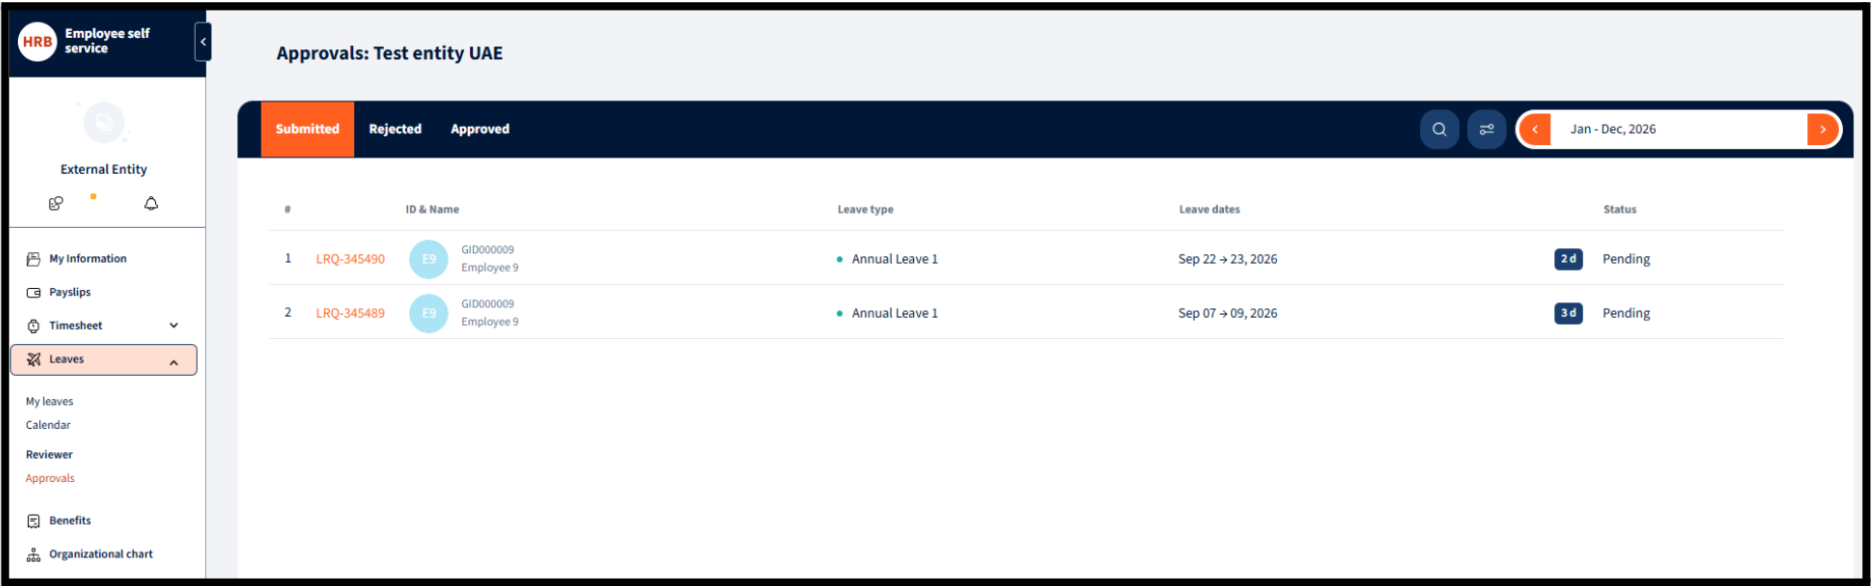
- When employees submit requests, the external user will receive them in the corresponding module.
- To action these requests, the external user must navigate to the specific module (e.g., Leaves), click on Reviewer, and then select Approvals.
- From this dashboard, they can view all pending requests, and approve or reject them accordingly.


We’re glad. Tell us how this page helped.

We’re sorry. Can you tell us what didn’t work for you?
Newsletter
Simplifying employment tasks worldwide.
Let us help you make sure you’re on the right track. Join 15,000+ subscribers and receive exclusive tips and resources.