Submitting a timesheet
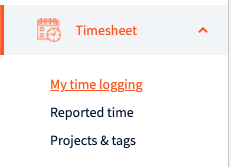
Employee has access to three different views:
- My time logging – views from where employees log their time to projects
- Reported timesheet – employees can see their previous and ongoing timesheets
- Projects and tags – read-only view where employees are able to see to what projects they have access to
List view
List view is timer based view from where employees are able to log their projects as they are working on them.

Tracking is simple:
- Employees enter a short description about what they are doing
- Select project
- Click on start button that will start time counter

Once employee is finished with that activity stop button needs to be pressed and time entry will be added to corresponding day.
Time can also be added manually by clicking on time icon

Month view
Month view is the most used view in timesheet module.
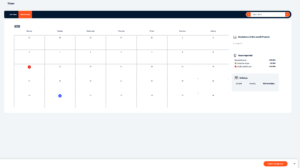
Timesheet hours come from workweek settings. Workweek settings define what days are working days and how long are working hours.
For current employee workweek starts on Monday and working days are from Monday to Friday for 8 hours each day.
In timesheet there are three different types of hours:
- Unallocated hours – displayed with red icon. Unallocated hours are displayed for the days where employee is supposed to fill their timesheet but has not filled mandatory working hours yet.
- Regular hours – come from workweek. In current example regular hours are 8 hours on each workday.
- Overtime hours – once regular hours are filled, overtime hours come into play. Days with overtime hours are marked with yellow warning icon.

To fill their timesheet users click on a day they want to log their time to and project adding modal opens up.
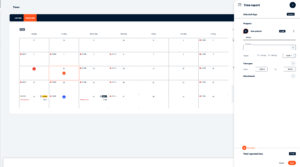
Employees enter a small description about what they are doing, select project and then add time for how long they worked on that project. Options half day(4h) and full day(8h) can be used as well.
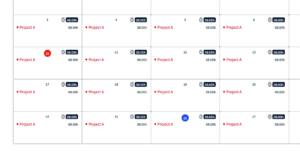
Once timesheet is filled, employee can submit it for approval for reviewer – in this case it is line manager.
Timesheet status will get updated to Submitted and after that employee can check timesheet details from month view or from reported time.
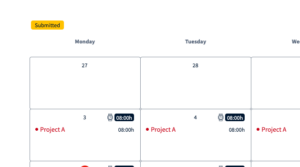
In reported time view:

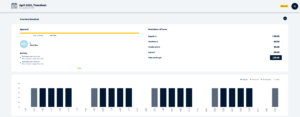
Importing timesheet
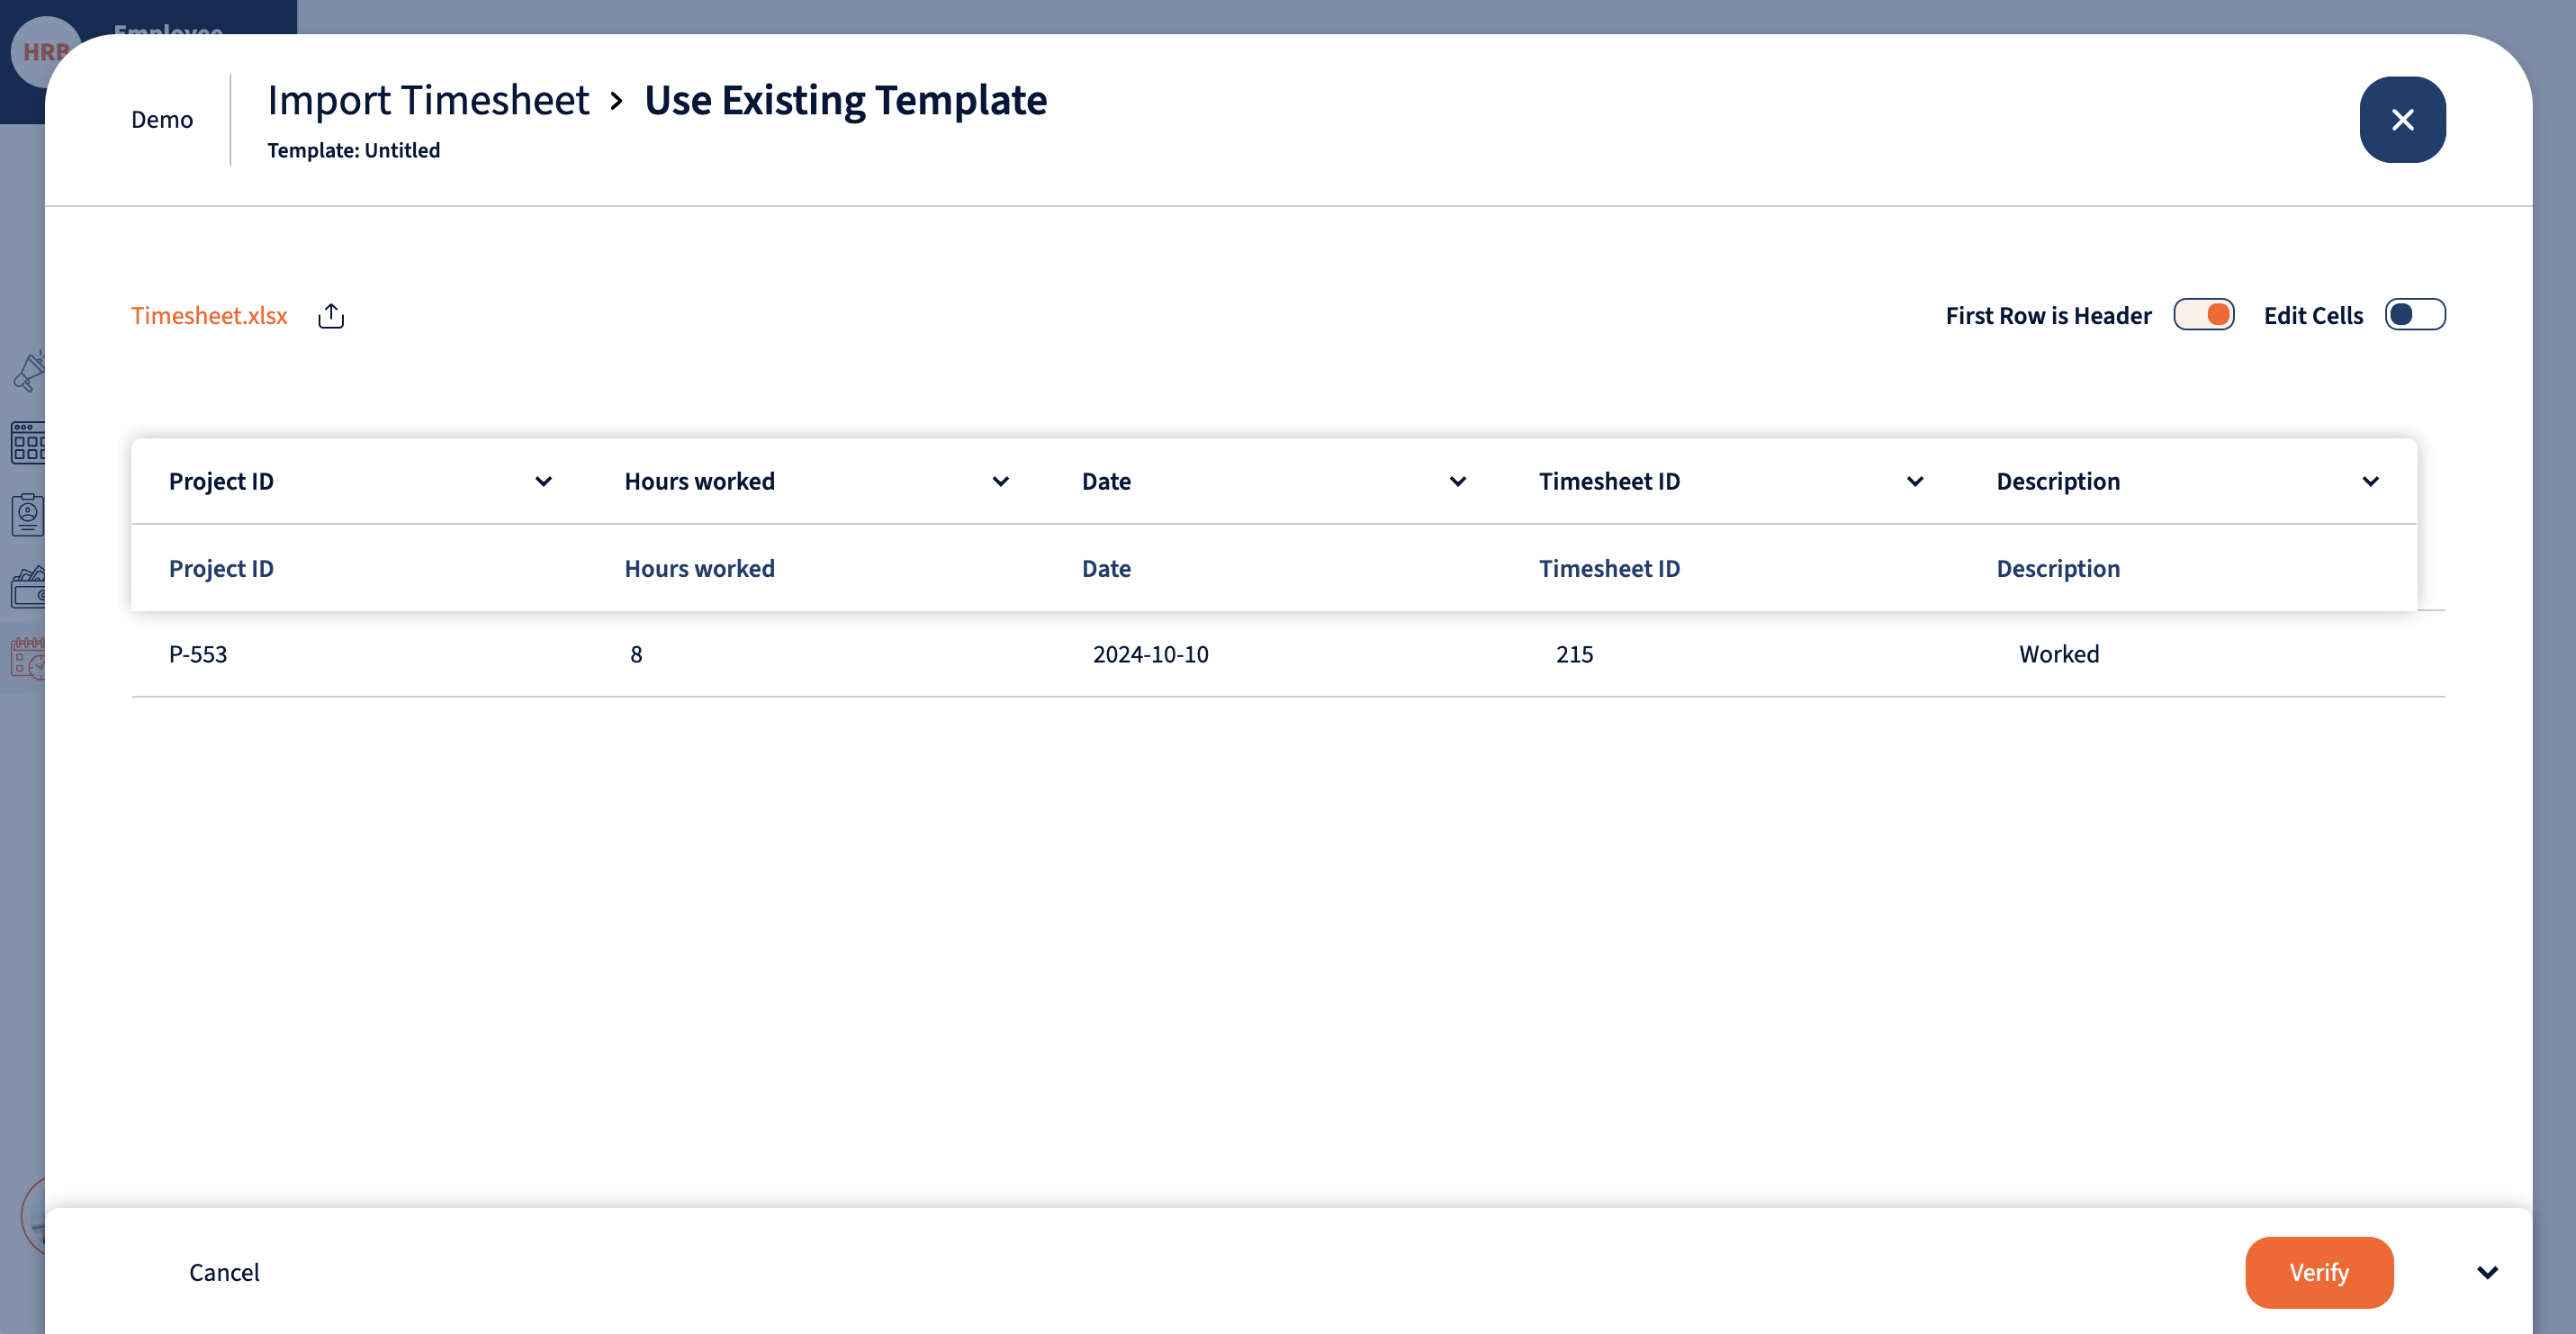
Timesheet can be uploaded from any timesheet view header under “Import” button. You can choose to use pre-configured template or map the columns manually.

After uploading the file you can make modifications to the file and verify it. Once uploaded you can see the changes in your timesheet.
Timesheet import template
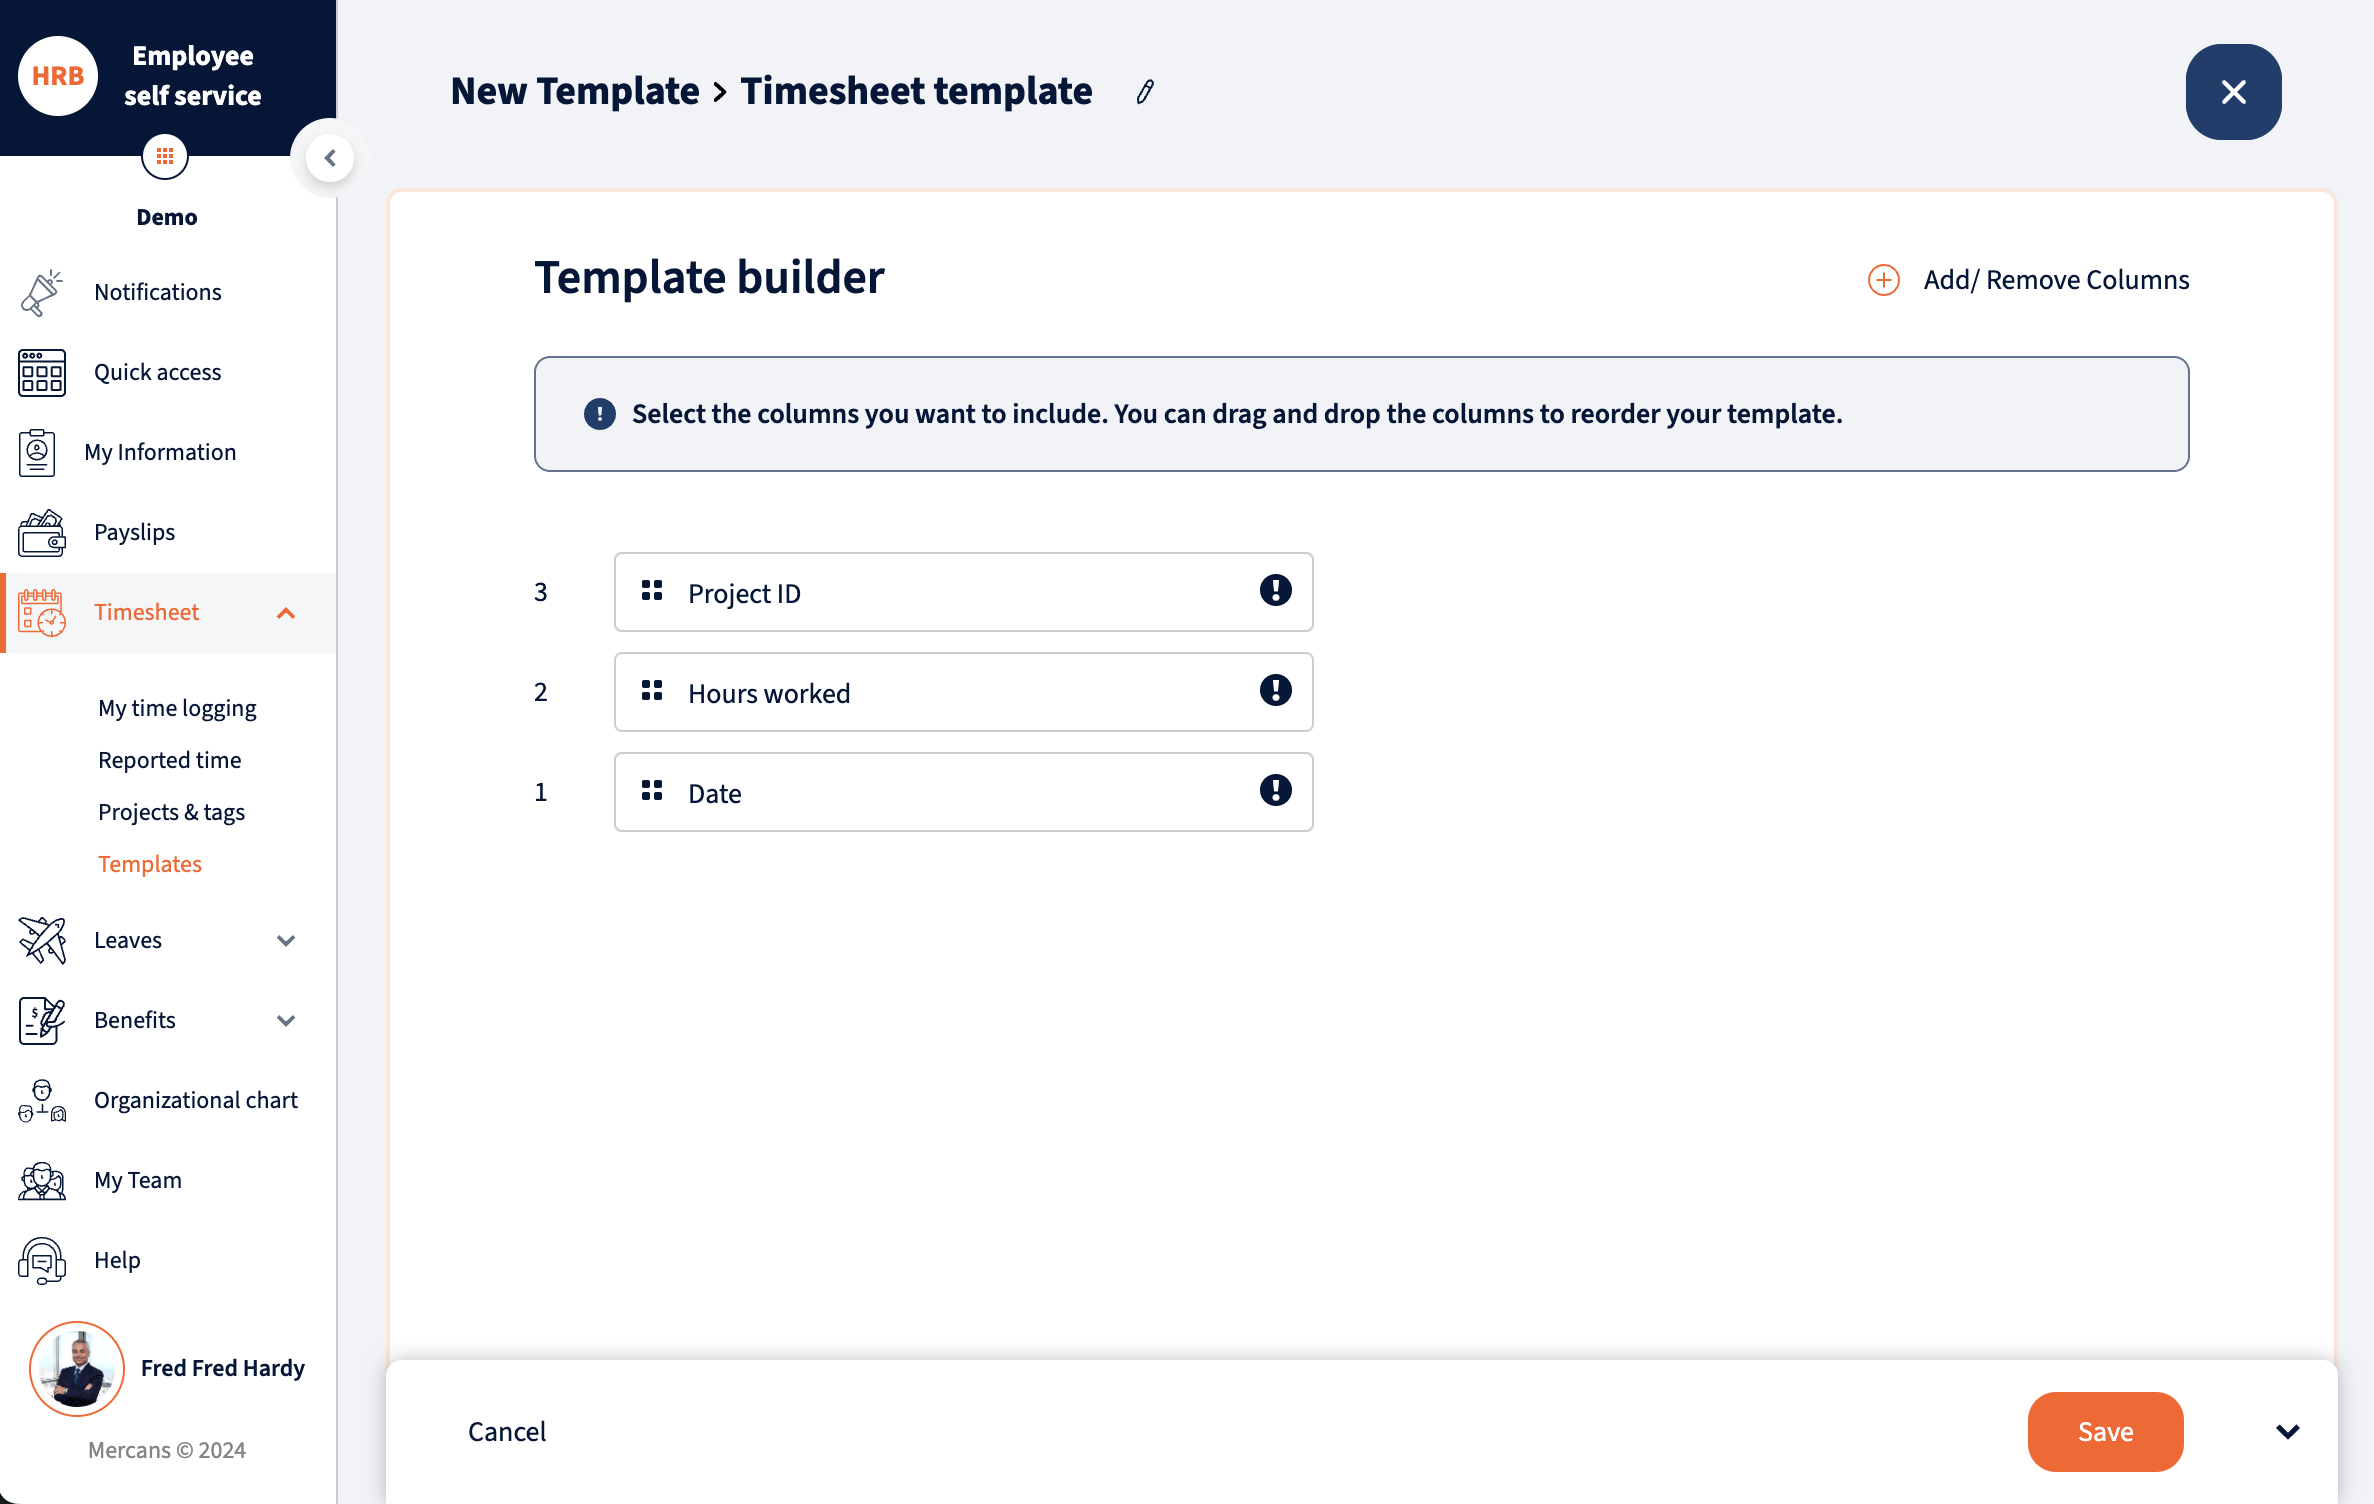
You can also create a template to simplify the upload process by navigating to Timesheet -> Templates. The template can be configured with the necessary timesheet fields and used for future uploads.
Configurable fields:
- Project ID* – Project that the hours worked should be allocated to
- Hours worked* – Hours worked for the particular date
- Date* – Actual date for the time logged yyyy/mm/dd
- Description – Description of time logged (ie. Admin)
We’re glad. Tell us how this page helped.
We’re sorry. Can you tell us what didn’t work for you?
Newsletter
Simplifying employment tasks worldwide.
Let us help you make sure you’re on the right track. Join 15,000+ subscribers and receive exclusive tips and resources.
